

Guide to Create a Product
1. ACCESS TO DASHBOARD
To get started, access your seller account.
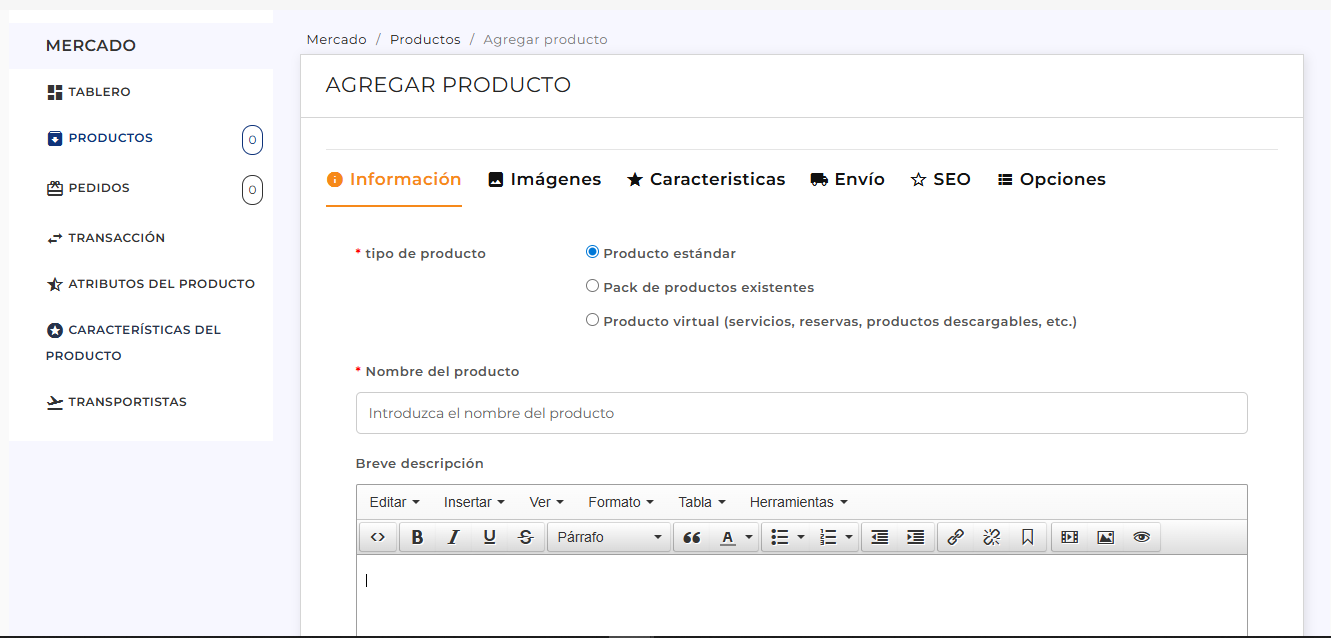
Marketplace → Products → Add Product
2. CREATE PRODUCT
1.1 Product Type
- Standard product → Physical products
- Virtual product → Services or bookings
1.2 Product Name
Enter a clear name.
For example:
- Elegant red dress
- Makeup service
- Private tutoring for university entrance exams
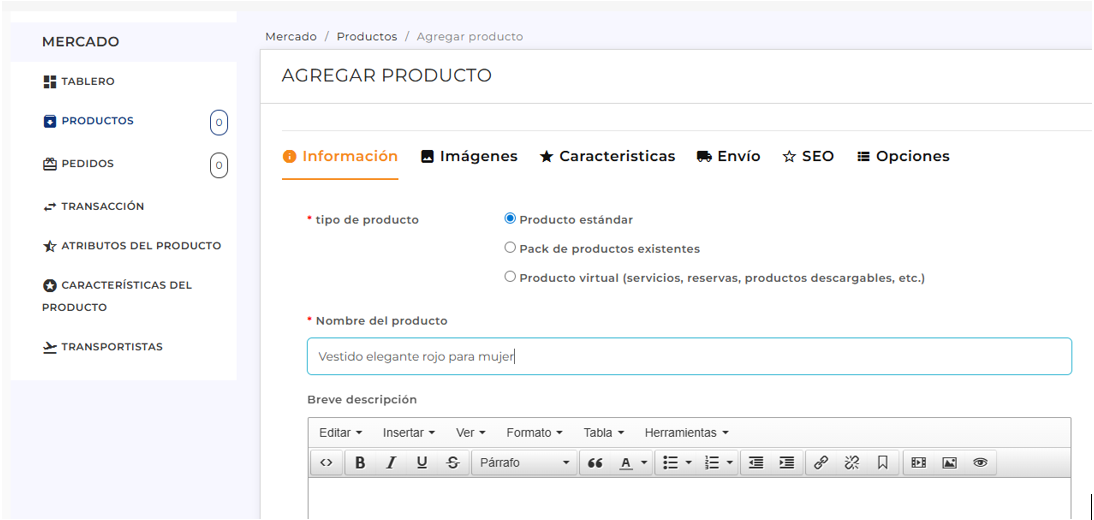
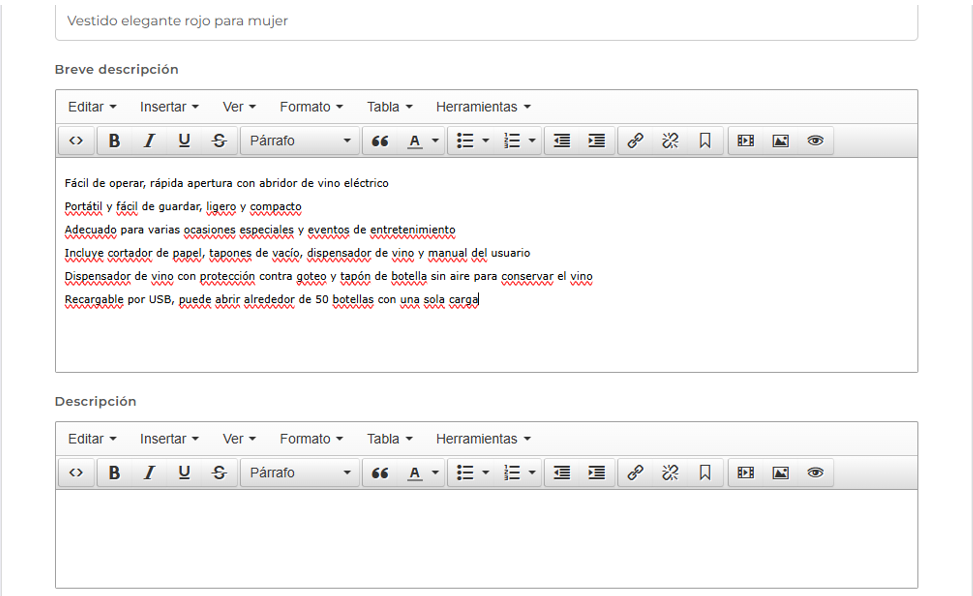
1.3 Short Description
Add a brief summary of the product.
1.4 Full Description
Explain in detail:
- Features
- Materials
- Usage
- Benefits
1.5 Category
Select the appropriate category.
You must select the categories where you want your product to appear (home categories are mandatory)
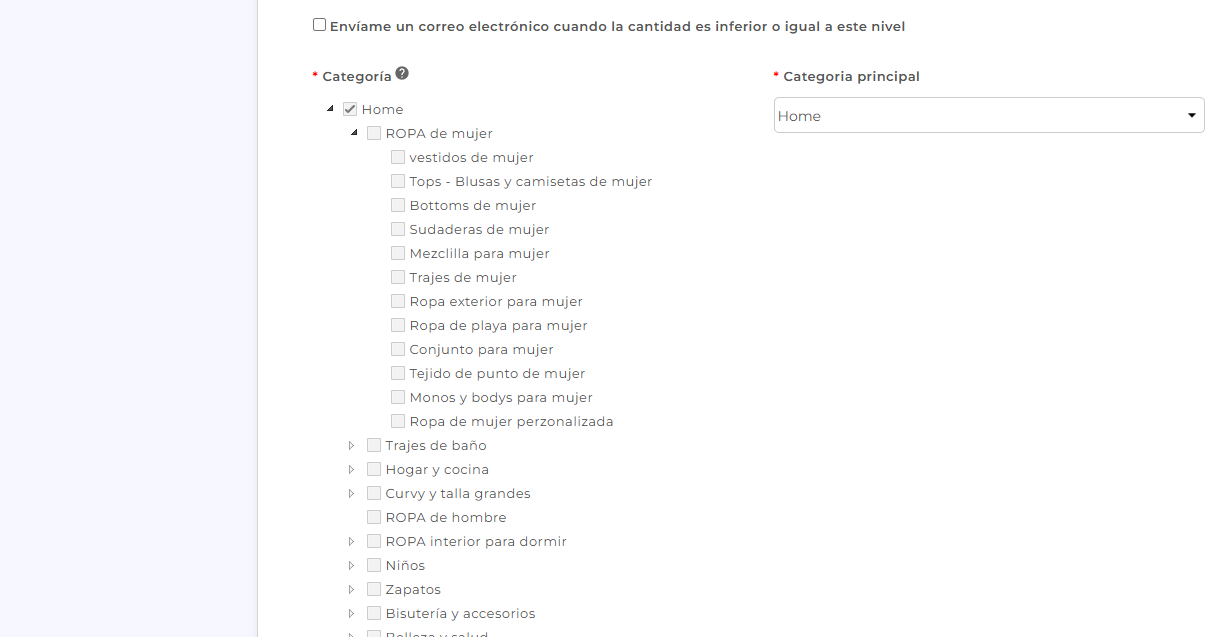
The last subcategory in your selection will be the default category
1.6 Price
Enter the price excluding VAT.
⚠ IMPORTANT: You must save the product before adding images.
If you don't, you will see the message:
"You must save this product before adding images."
If you don't, you will see the message:
"You must save this product before adding images."
3. SAVE PRODUCT
Save
✔ This creates the product in the system
4. ADD IMAGES
- Go to the Images tab
- Upload photos
QUICK SUMMARY
- Create product
- Fill in information
- Save
- Add images
- Save again
7. IMPORTANT TIPS
- ✔ Use high-quality images
- ✔ Describe your product well
- ✔ Select the correct category
- ✔ For services, use Virtual Product